LG TU500 User Manual
Browse online or download User Manual for Mobile phones LG TU500. LG TU500 Owner's manual
- Page / 99
- Table of contents
- TROUBLESHOOTING
- BOOKMARKS
- USER GUIDE 1
- TU500 USER GUIDE 2
- Table of Contents 3
- Recent Calls 40 4
- Messages 42 4
- My Place 56 4
- Address Book 57 4
- Troubleshooting 88 6
- Accessories 90 6
- Product care and maintenance 8
- Efficient phone operation 9
- Electronic devices 9
- Road safety 9
- Avoid damage to your hearing 10
- Blasting area 10
- In aircraft 10
- Children 11
- Emergency calls 11
- Battery information and care 11
- Driver Safety Tips 11
- Parts of the phone 13
- Task menu key 14
- Getting started 16
- Charging the battery 18
- How to use a microSD memory 20
- Turning your handset on 22
- Turning your handset off 22
- Access codes 22
- Key functions 24
- Unlock function 26
- General functions 27
- Making international calls 28
- ABC mode 30
- 123 mode (Number mode) 30
- Changing the text input mode 30
- Using the hands-free 32
- Main menu 33
- Profiles 34
- My Media 36
- Music Player MENU 2.4 38
- Bluetooth Data MENU 2.6 40
- Other Files MENU 2.7 40
- Memory Card MENU 2.8 40
- Recent Calls 41
- Call Duration MENU 3.5 42
- Messages 43
- Email (Menu 4.1.3) 46
- Inbox MENU 4.2 48
- Email Inbox MENU 4.3 48
- Drafts MENU 4.4 50
- Outbox MENU 4.5 50
- Settings MENU 4.0 52
- Email (Menu 4.0.3) 54
- Voice Mail (Menu 4.0.4) 56
- Video Mail (Menu 4.0.5) 56
- Push Message (Menu 4.0.6) 56
- Cell Broadcast (Menu 4.0.7) 56
- My Place 57
- Address Book 58
- Organiser & Tools 60
- Notepad MENU 7.4 62
- Calculator MENU 7.5 62
- Date Finder MENU 7.9 64
- D-Day Counter MENU 7.0 64
- Favourites MENU 7.* 64
- Take Photo MENU 8.1 65
- Record Video MENU 8.2 66
- Record Voice MENU 8.3 67
- Memory Status MENU 8.4 67
- Settings 68
- Call Settings MENU 9.4 70
- Voice calls 72
- Send My Number (Menu 9.4.6) 74
- Auto Redial (Menu 9.4.7) 74
- Answer Mode (Menu 9.4.8) 74
- Minute Minder (Menu 9.4.9) 74
- Network (Menu 9.5.3) 78
- Streaming (Menu 9.5.5) 80
- PDP Settings (Menu 9.5.7) 80
- Change Codes (Menu 9.6.3) 82
- Handset Information MENU 9.8 84
- Internet MENU 9.9 84
- Go to URL (Menu 9.9.4) 86
- Security (Menu 9.9.5) 86
- Settings (Menu 9.9.6) 86
- Reset Settings MENU 9.0 88
- Troubleshooting 89
- Accessories 91
- 92
- Manufacturer’s Warranty 98
- 3. STATEMENT 99
Summary of Contents
TU500TU500USER GUIDETU500P/N : MMBB0222701 (1.1)HUSER GUIDEUSER GUIDESome of contents in this manual may differ from your phone depending on thesoftwa
9]RF energy may affect some electronic systems inyour motor vehicle such as a car stereo or safetyequipment.]If your vehicle is equipped with an air b
Guidelines for safe and efficient use10ChildrenKeep the phone in a safe place out of small children'sreach. It includes small parts which if deta
11]Use a hands free device. If possible, add anadditional layer of convenience and safety to yourwireless phone with one of the many hands freeaccesso
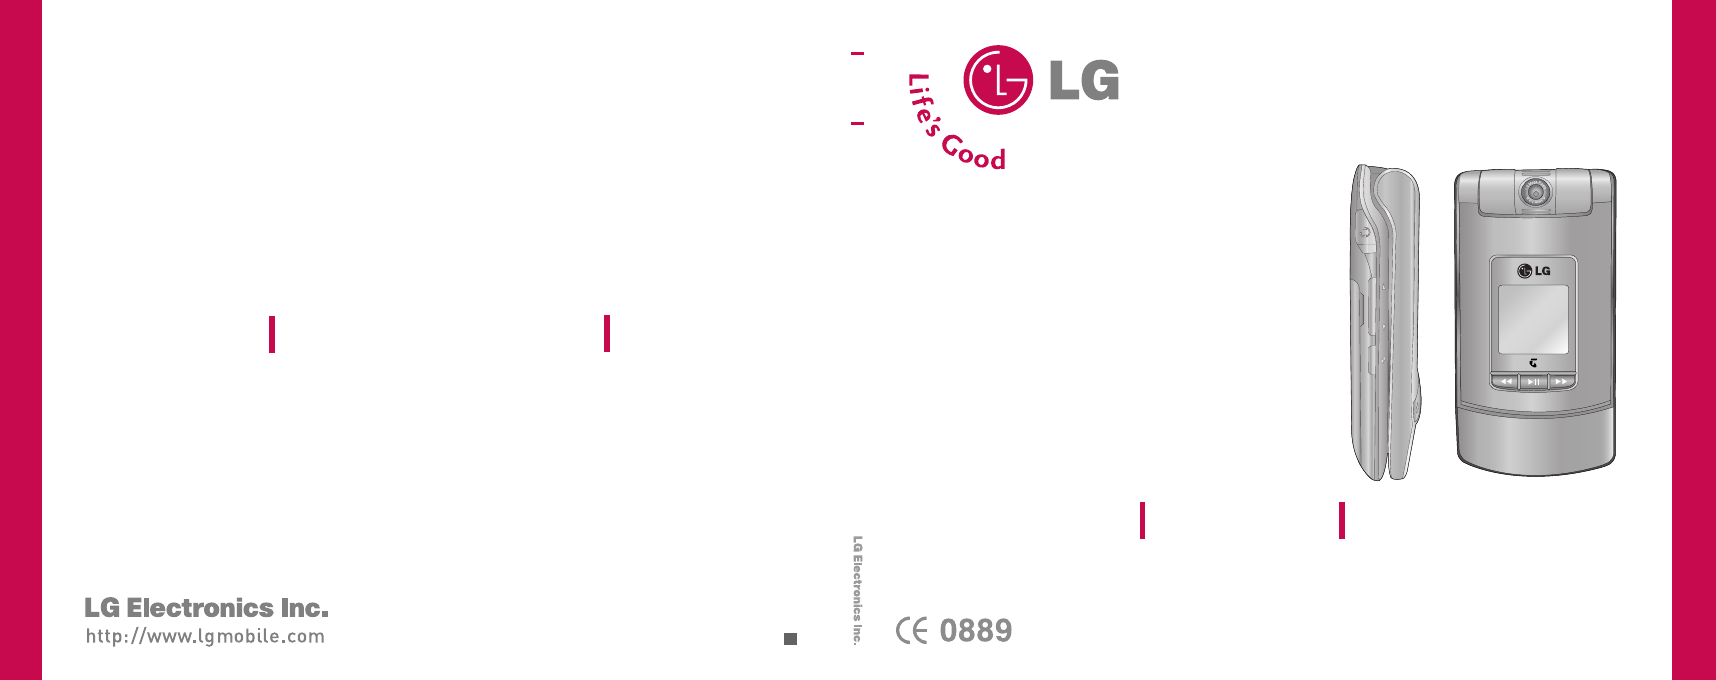
Parts of the phone12Parts of the phoneCamera lensFront viewRear viewBattery terminalsUSIM card socketMusic player hot keys: (Long press) Launches/Stop
13Parts of the phoneTask menu keyMultitask simultaneously with voice and data -browse the web, make calls, play games, send andreceive messages, and l
Parts of the phone14Parts of the phoneOK key+4-way navigation keyCamera keyMicrophoneVideo call/ Call list keySend keyRight soft keyActivates the prom
Getting started15Installing the USIM card and battery1. Install the USIM card.Your USIM card contains your phone number,service details and contacts a
Getting started162. Install the battery.Insert the battery aligning the gold contacts onthe battery with the battery terminals (goldcontacts) in the b
17Charging the batteryTo connect the travel adapter to the phone, youmust first install the battery.1. With the arrow facing you as shown in the diagr
Getting started18Disconnecting the chargerDisconnect the charger from the phone by pressingthe side buttons as shown in the diagram.Getting startedNot
TU500 USER GUIDEThis document is the user guide for the LG TU500 3G VideoMobile Phone. All rights for this document are reserved byLG Electronics. Cop
19How to use a microSD memorycard<How to insert a microSD memory card>1. Power off the phone.2. Lift the plastic cover which protects the microS
Getting started204. Once inserted, push the memory card until youhear a “click”, meaning that the microSD has beencorrectly locked.5. Close the slot p
21Turning your handset onEnsure that your USIM card is in your handset andthe battery is charged. Press and hold the keyuntil power is on. Enter the
Getting started22PUK2 code (4 to 8 digits)The PUK2 code, supplied with some USIM cards, isrequired to unlock a blocked PIN2 code. If you losethe code,
23Key functionsThe functions of the keys in the idle screen status are described below.Getting startedDirection key ( )Short-cut for "Telstra Ser
Getting started24Numbering screenThe numbering screen appears when a number key ispressed in the idle screen.Screen structureThe numbering screen cons
25Unlock functionIf you press the OK key, a popup screen appearsasking you to input the Security code to unlock thephone. The Security code is configu
General functions26Making and answering callsEnsure you tell the other party before recording avoice call.Making and answering a video callYou can mak
27- Night Mode: On / Off- Quality: Super Fine / Fine- Rev Cam: None / Water(Turns the imageupside down)]Others - Contacts: You can save the number in
General functions28General functionsprefix. The ‘+’ character can be replaced with theinternational access code.2. Enter the country code, area code,
Table of Contents2Table of ContentsGuidelines for safe andefficient use6Parts of the phone 12Getting started 15General functions 26Making and answerin
29General functionsT9 modeThis mode lets you enter words with only onekeystroke per letter. Each key on the keypad hasmore than one letter. The T9 mod
General functions30General functions]If the word is still incorrect after typingcompletely, press the key once or more tocycle through the other word
31Using the 123 (Number) modeThe 123 Mode enables you to enter numbers in atext message (a telephone number, for example).Press the keys corresponding
32Main menuMain menuYou can launch a menu by pressing the OK key in the idle screen. Move to a desired item and press the OK keyto go into the sub men
Profiles33Depending on the support or not of SAT (i.e. SIMApplication Toolkit) services on the USIM card, themenu 1 may be different. In case the USIM
Profiles34ProfilesMessage ToneThis option determines the alert tone to be playedby the phone upon receiving a message.Effect tonesKey Tone: You can se
My Media35Images MENU 2.1This menu consists of embedded links fordownloading images through the Internet, Ta k ePhoto menu, Make Animated GIF and Defa
My Media36When a file is selected, the following options areavailable using the right soft key [Options].]Send Via: You can send the selected video cl
37recorder are stored in Sounds folder and you cancreate new folders to manage them. Here, you canmanage or send downloaded or recorded voice clips.Wh
My Media38Playlists You can create your own playlists by choosing tracksfrom the All Songs menu list. Shuffle SongsPlays music files in random order.S
3Table of ContentsRecent Calls 40Missed Calls Received CallsDialled Calls All CallsCall Duration 41Messages 42New MessageInbox 47Email InboxDrafts 49
392. Activating a Java accountMove the cursor to the account which youwould like to activate and press the left soft key[Activate].3. Editing a Java a
Recent Calls40You can view missed, received, dialled and entire callrecords. Each call record menu provides the followingfunctions.]You can make a voi
41Call Duration MENU 3.5You can view call time by types. Press Options key tochoose whether partial initialisation or entireinitialisation. Also press
Messages 42New Message MENU 4.1Text Message (Menu 4.1.1)1. Press the OK key and select Messages > NewMessage > Text Message. (You can directly a
43Messages]Slide: Select this to add a new slide.]Note: If you insert an image, a sound, or a videoclip in a test message, the screen is changed toMul
Messages44]Audio: You can insert a sound file.(One sound per slide)]Video: You can insert a video clip.(One video clip per slide)]New Photo: The camer
45message. The message would be saved in themultimedia message server only for theconfigure term.3. Delivery Receipt: By enabling this option, youcan
Messages46Messages• Enter a hidden reference email address toforward the email without forwardinginformation in Bcc(Blind Carbon Copy) field.• Only va
47Messages3. T9 Dictionary: Allows you to add words tothe T9 dictionary.]Cancel: Exits the email composer.5. When you have finished writing an email,
Messages48email only.- All: Creates a reply to all contacts of the email.]View: Opens selected email.]Retrieve: Retrieves new email messages.]Write Ne
Table of Contents4Organiser & Tools 59Alarm ClockCalendarTasks 60Notepad 61CalculatorUnit Converter 62World ClockStop WatchDate Finder 63D-Day Cou
492. Select Trash in the mailbox and press the OK keyto view the deleted email list.3. Press the Delete key to delete a deleted emailpermanently.4. Pr
Messages50Messages]Information: You can check the message type,subject, priority, size, and inserted file information.]Delete All: Select this to clea
51MessagesMultimedia Templates (Menu 4.9.2)You can create, edit and view available templateswhen creating multimedia messages. Signature (Menu 4.9.3)Y
Messages525. Send Delivery Receipt: Determine whether torequest a delivery confirmation mail for amultimedia message.6. Request Read Receipt: Determin
53]Connection Mode: Select one of the connectionmode. (UDP(CO), UDP(CL), TCP with Proxy, TCPwithout Proxy)]Network profile: Specify the access point n
Messages54Creating a new email account1. Select Add new from the Email account menuoptions.2. The following items need to be configured.MessagesTitle
553. Press the left soft key [Done] to complete theemail account configuration.Editing an email account1. Select a desired email account from the emai
My Place56This menu contains WAP links to useful Telstraservices. 1 BigPond2 FOXTEL3 Search4 Email5 Music6 Downloads7 Photos8 Maps9 My AccountMy Place
Address Book57New Contact MENU 6.1You can register a new contact address. You canenter the name, different phone numbers and emailaddresses of a new c
Address Book58Settings MENU 6.6Display data (Menu 6.6.1)Select which contact information shall be displayed(from handset memory, from USIM card or bot
5Troubleshooting 88Accessories 90Table of Contents
Organiser & Tools59Alarm Clock MENU 7.1If you set the alarm, [Alarm icon] appears on theIndicator bar. The specified alarm sounds at thescheduled
Organiser & Tools60As a search result, brief schedule contents,repetition set up configuration, and alarm set upconfiguration are displayed. You c
61Set job statusTasks set as finished are displayed as crossed outbelow the unfinished tasks in the Tasks list. You canset Finished tasks to Not finis
Organiser & Tools62Unit Converter MENU 7.6Using this menu, users can convert Area, Length,Weight, Temperature, Volume and Velocity.To convert any
63Date Finder MENU 7.9The date finder shows the start date, the target dateand the number of remaining days.D-Day Counter MENU 7.01. To add a new D-Da
Camera64Take Photo MENU 8.1Using the camera module built into your phone, youcan take pictures of people or events while on themove. Additionally, you
65In Take Photo mode, you can adjust the brightnessby using the left/right navigation key.Record Video MENU 8.2You can record a video clip in this men
Camera66Record Voice MENU 8.3You can record an audio clip in this menu. Therecorded audio file is saved automatically in theSounds menu (Menu 2.3).The
Settings67Profiles (for SAT USIM) MENU 9.1In case an SAT capable USIM card is in use Profiles islisted here and should provide the same features asdes
Settings68Phone Settings MENU 9.3Language (Menu 9.3.1)You can select the display language. When thelanguage option is set to Automatic, the language i
Guidelines for safe and efficient use6Please read these simple guidelines. Not followingthese guidelines may be dangerous or illegal. Furtherdetailed
69Call Settings MENU 9.4Call divert (Menu 9.4.1)Call divert menus for video, voice, data and fax callsare provided.However, available menus are determ
Settings70activate call divert. The View status menu showsthe settings on the network. If you select thismenu, Requesting. message and animation appea
71Voice callsAll voice calls1. When the Deactivate menu is selected – DeletesCall Divert Number registered to the network.While waiting for the result
Settings72Call Waiting (Menu 9.4.2)This menu consists of All calls, Video calls and Voicecalls.If you select one, activate/deactivate/view statusmenu
73]My Picture Position: Select the position whereyour image will be displayed.]Hide My Picture: Determine whether to display mypicture on a main scree
Settings74Connectivity MENU 9.5Bluetooth (Menu 9.5.1)Bluetooth connection• Menu > 9. Settings > 5. Connectivity > 1. BluetoothYour phone has
75- My Address: This is the Bluetooth address of yourdevice. This is set when you phone is sold. Youcannot change the Bluetooth address.3. Paired devi
Settings76• After creating a password (of 1 to 16 digits),the user of the other device must enter thepassword for pairing. The user of the otherdevice
77appear on the screen. If you select [Yes], thedata will be transmitted to your phone. Duringdata transmission, the Bluetooth icon flashes.<Blueto
Settings78Preferred lists1. Select Preferred lists to display the preferred listsaved in the current USIM card.2. You can edit and save a preferred li
7or messages, this device requires a quality connectionto the network. In some cases, transmission of datafiles or messages may be delayed until such
79]Press “Done” key to save any configurationchanges.Streaming (Menu 9.5.5)Here you can set the Streaming port range and theAPN used for accessing Str
Settings80- 2G & 3G: Simultaneous Packet Dataconnections are allowed in both 2G & 3Gnetworks.- 2G Only: Simultaneous Packet Dataconnections is
81enabled/disabled, an “Already activated”/“Already cancelled” message will be displayed.2. 3 incorrect PIN code entries in the PIN code inputwindow w
Settings82PIN2 codePIN2 is the abbreviation of Personal IdentificationNumber 2, and is used to restrict the use ofunauthenticated users like PIN. The
83SIM (Menu 9.7.3)This function shows the status of the USIM carduser memory.Memory Card (Menu 9.7.4)This function shows the status of the External ca
Settings84Using the WAP browser menuBrowser menu is seen once the WAP page isdisplayed. On selecting “Menu” from the left softmenu of browser, various
85Go to URL (Menu 9.9.4)Enter URLYou can manually enter a URL address and accessthe associated web page.]To enter a symbol, press or the right soft ke
Settings862. Press the left soft key [Done] to save anyconfiguration changes.You can edit and delete a profile by selecting Editand Delete from the Op
87Reset Settings MENU 9.0It resets the handset memory and Default settingsbrings all the phone settings to its default values.In Clear memory “Handset
88TroubleshootingTroubleshootingQ How do I view the list of outgoing calls, incomingcalls and missed calls?A Press .Q How do I clear all call history?
Guidelines for safe and efficient use8]Do not subject this unit to excessive smoke ordust.]Do not keep the phone next to credit cards ortransport tick
89TroubleshootingQ The phone gets warm.A During long calls, or if games/Internet are used fora long time, the phone may become hot. This isperfectly n
90Accessories AccessoriesAC Adapter(supplied in basic kit)This adapter lets you chargethe mobile phone while athome or in the office.
MEMO
MEMO
MEMO
MEMO
Manufacturer’s Warranty((((341. WHAT THIS WARRANTY COVERS:LG offers you a warranty that the enclosed Product and its enclosed accessories will be free
(7) Damage resulting from use of non-LG approved accessories.(8) All plastic surfaces and all other externally exposed parts that are scratched or dam
Related products and manuals for Mobile phones LG TU500

 (138 pages)
(106 pages)
(2 pages)
(106 pages)
(144 pages)
(44 pages)
(2 pages)
(130 pages)
(138 pages)
(106 pages)
(2 pages)
(106 pages)
(144 pages)
(44 pages)
(2 pages)
(130 pages)
 (77 pages)
(90 pages)
(105 pages)
(97 pages)
(129 pages)
(48 pages)
(36 pages)
(18 pages)
(36 pages)
(92 pages)
(106 pages)
(72 pages)
(77 pages)
(90 pages)
(105 pages)
(97 pages)
(129 pages)
(48 pages)
(36 pages)
(18 pages)
(36 pages)
(92 pages)
(106 pages)
(72 pages)
© 2020, manymanuals.com. All rights reserved. | 2.029 s |
 Manymanuals.com
 Manymanuals.de
 Manymanuals.fr
 Manymanuals.it
 Manymanuals.pl
 Manymanuals.cz
 Manymanuals.es
 Manymanuals-pt.com
Comments to this Manuals